
To turn an image into a drone video, open Flying Camera, upload a picture of a place and draw the line the camera should fly. The app reads your line, picks the camera move and the frame shape itself, and returns a video that travels along the route. Open Apps from the sidebar and click Flying Camera to start.
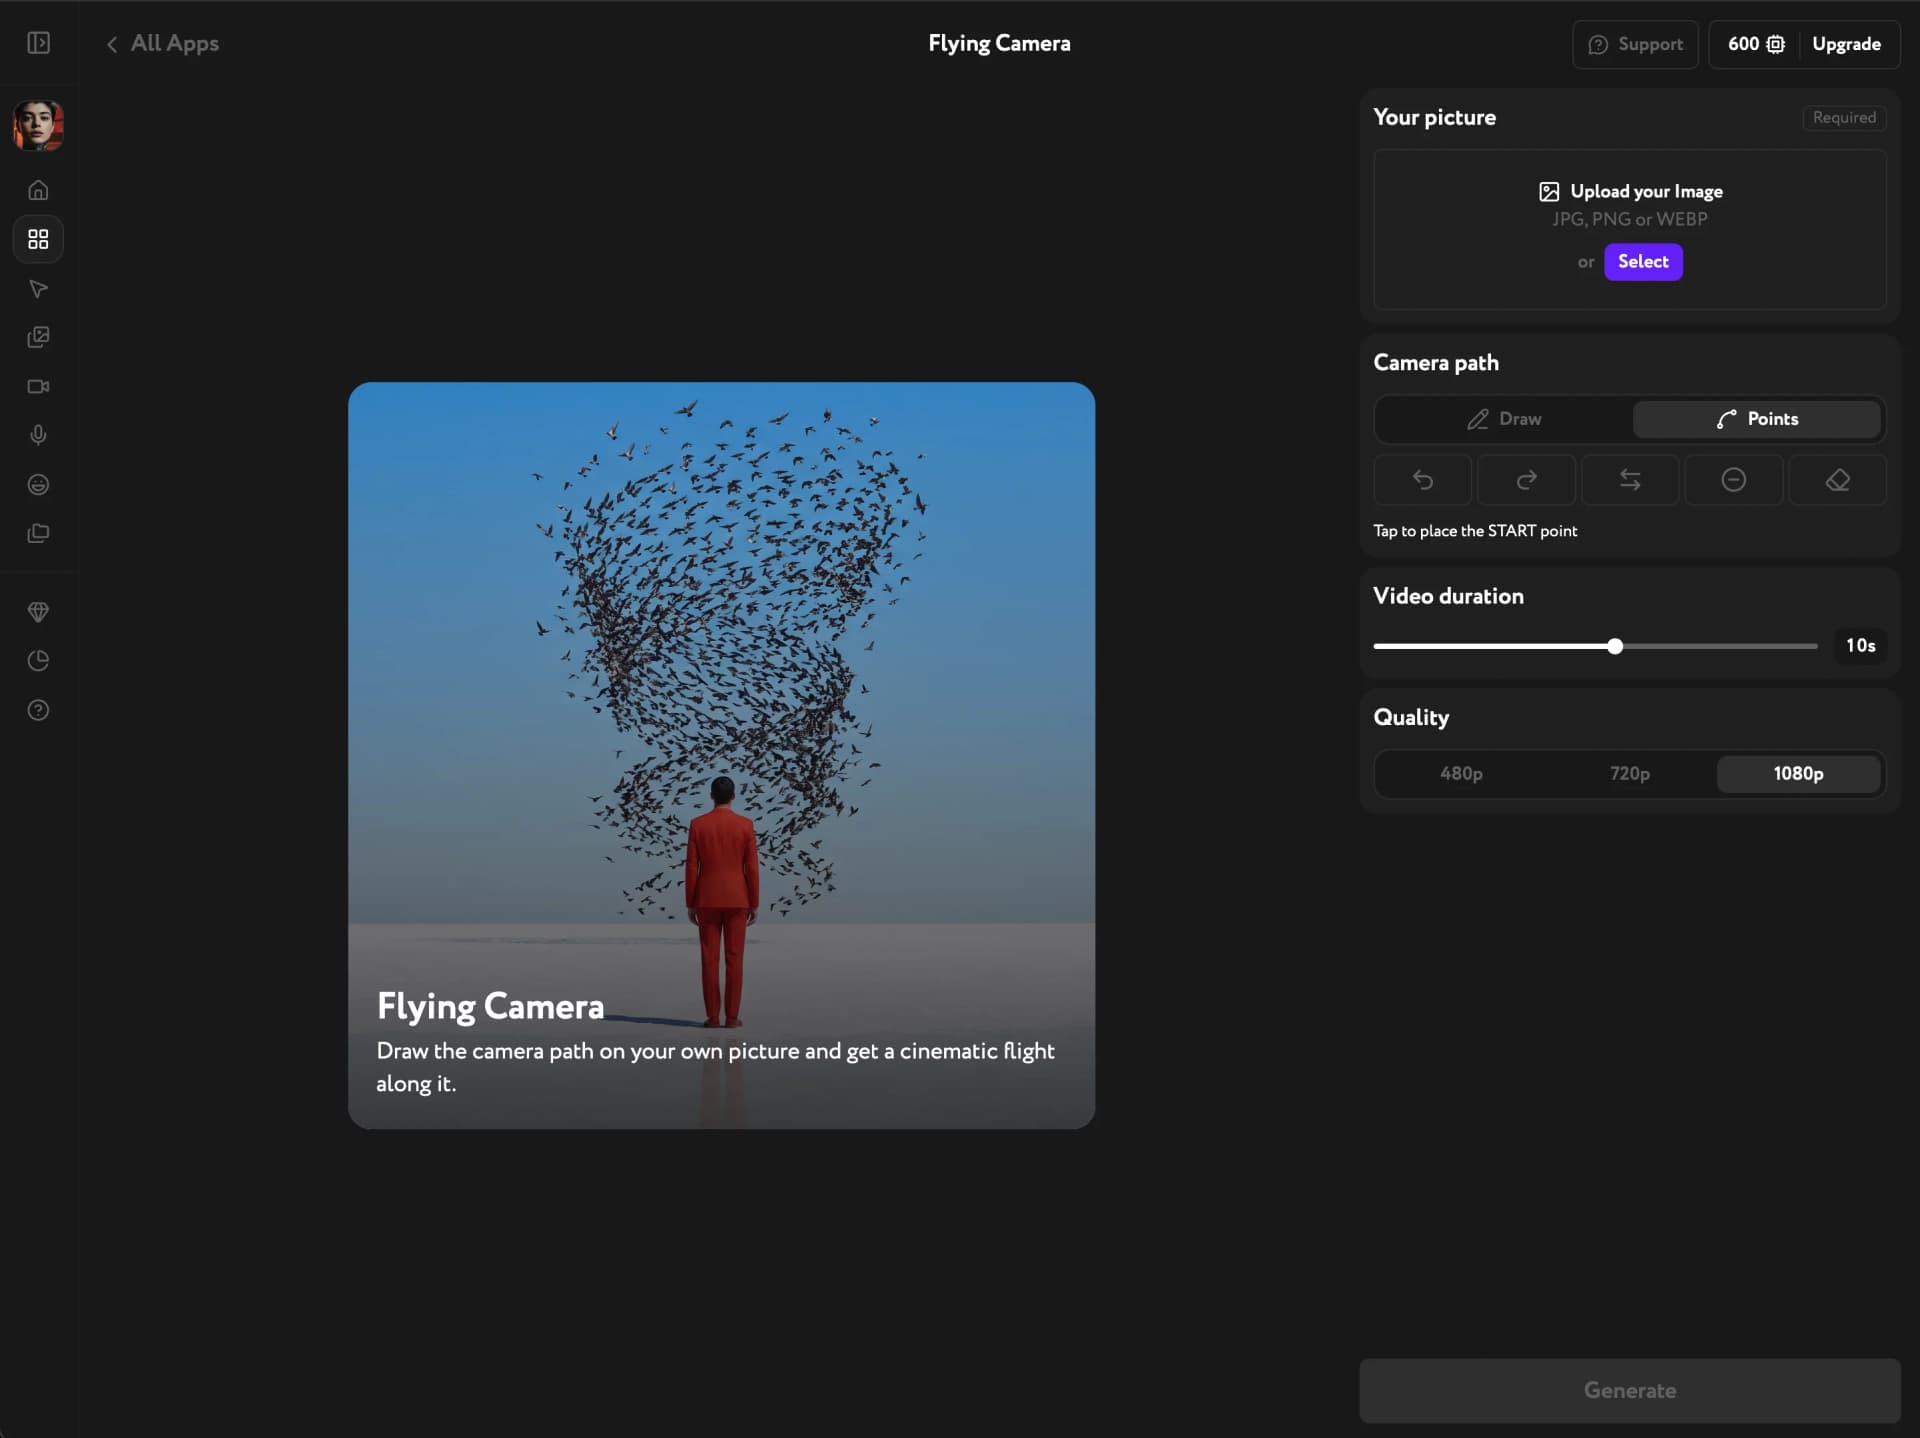
Upload your picture
In Your picture, click Select and add an image, or pick one from your Assets. The app takes JPG, PNG and WEBP.
Any photo or AI image of a place works. A scene with depth, such as a street, a valley or a long room, gives the camera room to travel.
Draw the camera path
In Camera path, choose how to draw the route:
- Draw — trace the line freehand.
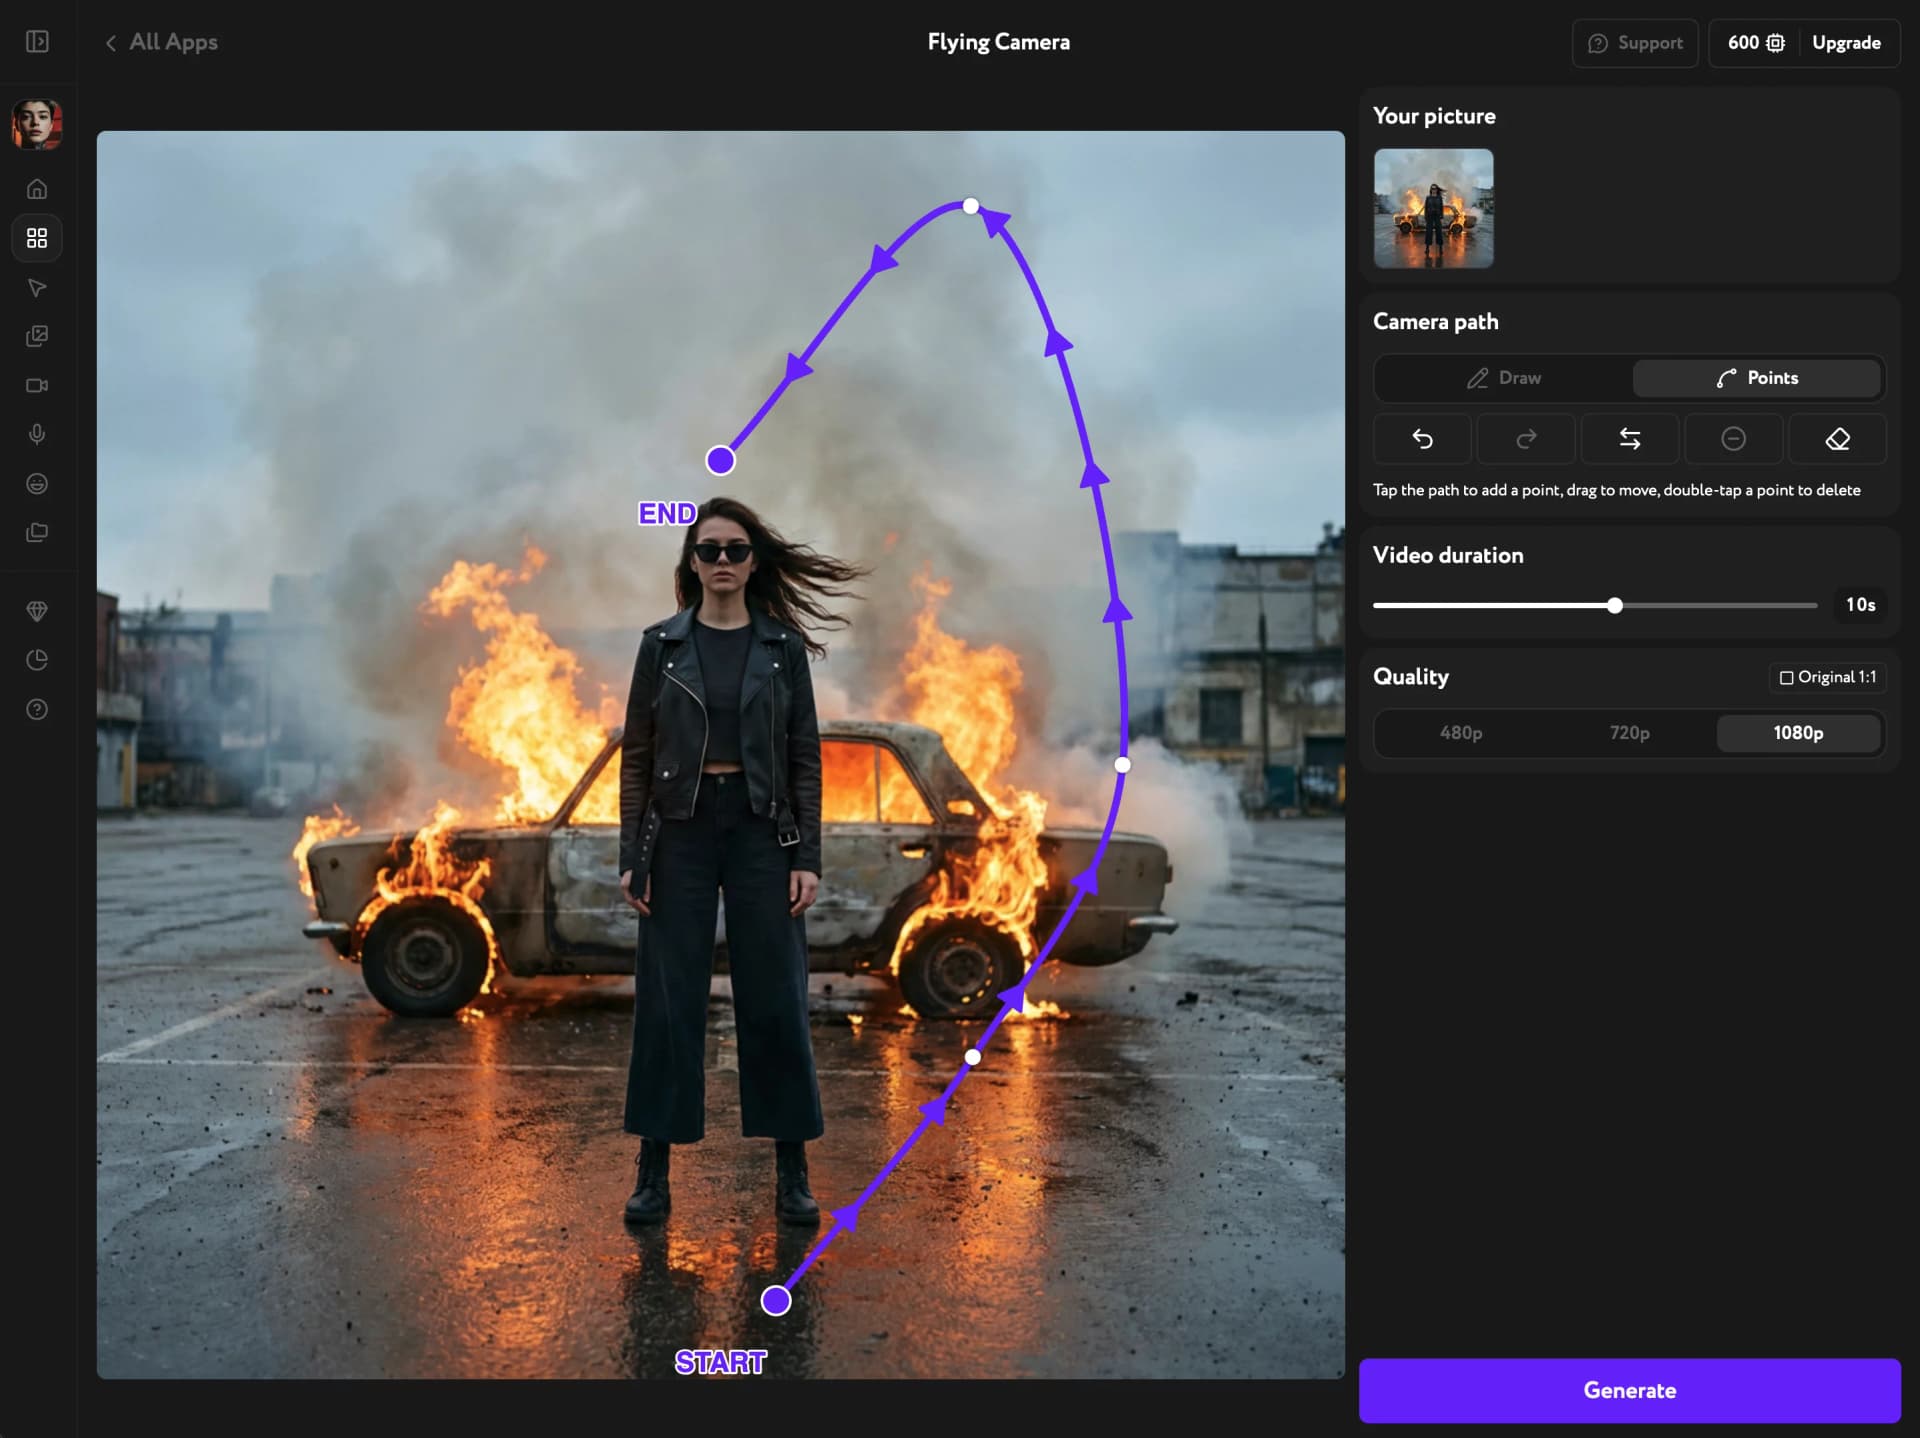
- Points — tap to place the START point, then add points along the route.
The app adds the START and END labels and the direction arrows itself, and updates them every time you change the line.
To refine the route, switch to Points. Tap the line to add a point, drag a point to move it, and double-tap a point to delete it. The line smooths itself as you edit. The toolbar buttons undo and redo your changes, reverse the direction and clear the path.
Set the duration and quality
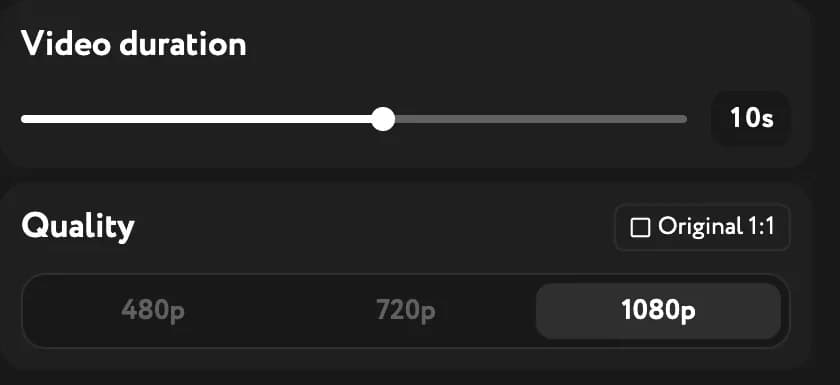
Drag the Video duration slider to set a length from 4 to 15 seconds. In Quality, choose 480p, 720p or 1080p.
The chip next to Quality shows the aspect ratio the app picked to match your picture, for example Original 1:1.
Generate and download
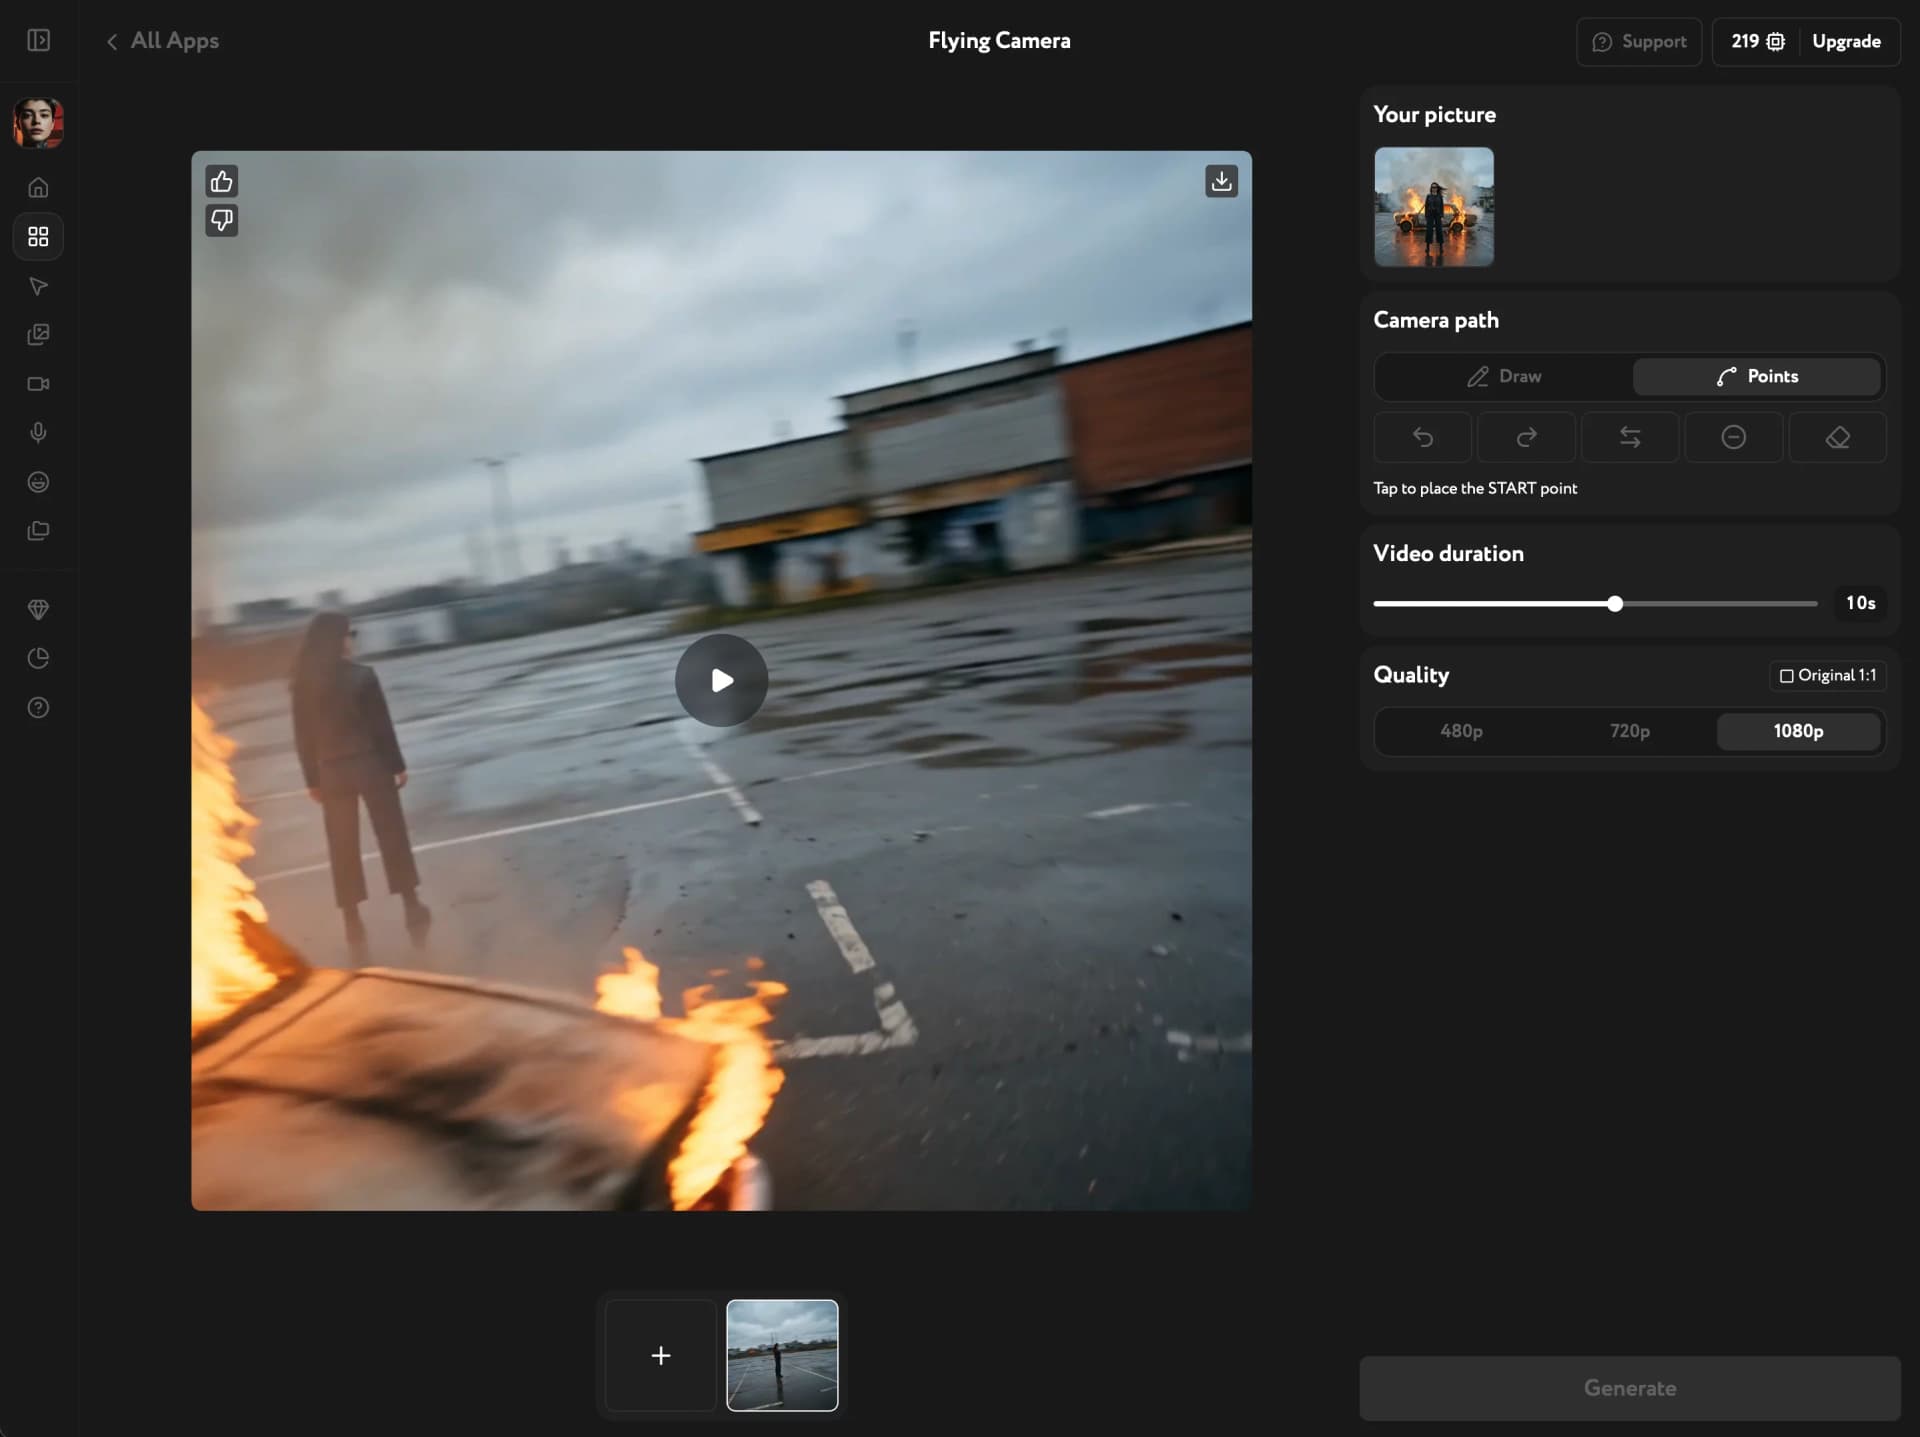
Click Generate. When the video is ready, it plays in the workspace. Click the download icon in the top-right corner to save it. The line, arrows and labels only guide the camera: they don't appear in the video or in your Assets.
Troubleshooting
Generate is inactive. Draw a camera path first. The button unlocks once the path exists.
The camera doesn't follow my line exactly. The line sets the route and direction, not every turn. Adjust the points and generate again.
The camera has little room to move. Pick a picture with depth. A flat wall or a close-up gives the camera nowhere to go.